Pages

Showing posts with label laundry room. Show all posts

Saturday, September 29, 2012

Laundry Room Art Project

I think the laundry room needs a little artwork but it's not in the budget, especially since I haven't picked out a counter top yet.  I got the Ribba 3-picture frame from Ikea for $9.99.  I gathered all my paint samples I purchased for the laundry room and two more I picked up on clearance from Home Depot for 50 cents each.  I had been saving some bottle caps and bottles for this project as you can see in the picture I used a scope bottle, baby bottle wash, keurig k-cup, milk container top, laundry detergent top, and top to lemonade bottle.  The frame measures 20 x 9 so I measured and drew out my project area on the sheet of card stock.


These were the two caps that worked the best (wisk detergent cap and simply lemonade cap):

I am going for a "bubbles" look.

Circle Containers: Free
Paint: $1.00 plus some I already had
Card Stock: 39 cents
Ikea Ribba Frame: $9.99
Free time during T's nap: Priceless

$11.38 Spent

Final Product:


Thursday, February 23, 2012

Laundry Room Progress: Part Two

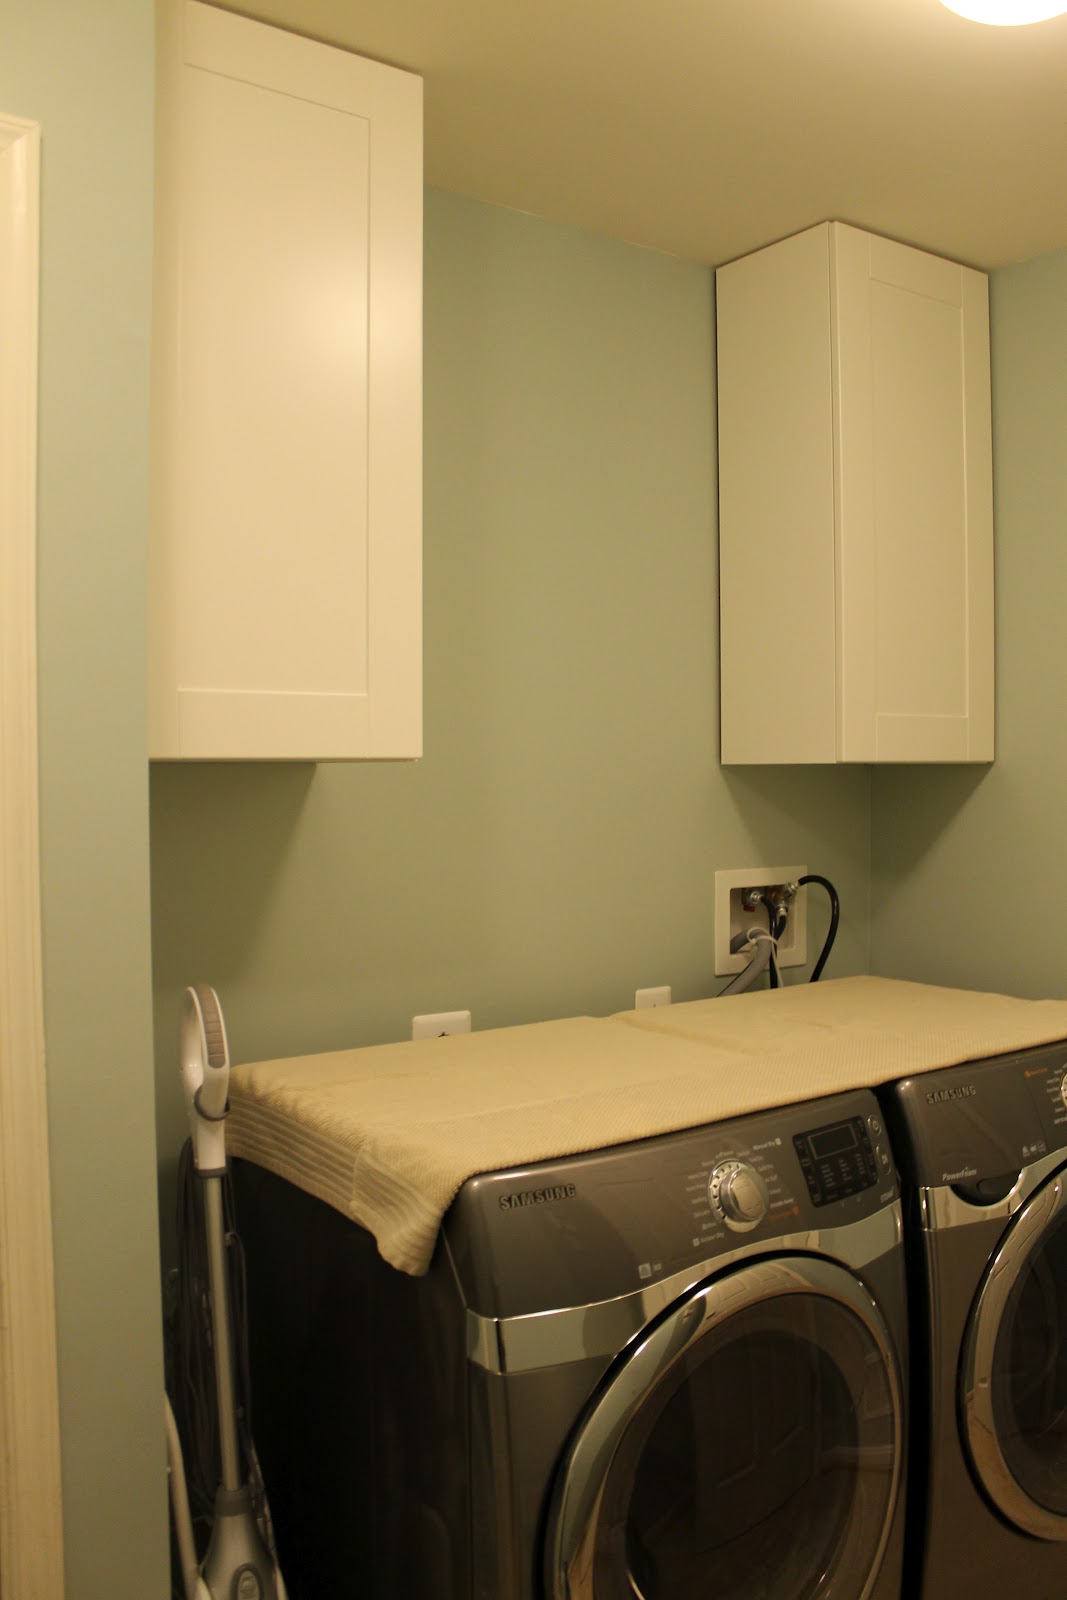
This weekend we were able to make some more progress on the laundry room.  Ikea restocked their shelves so we swung by to pick one up (same visit where we picked up the pantry cabinet).  We built it and hung it in half the time it took with the first one.  Our trusty assistant had already gone to bed. 


Just look at all that space for me to fold laundry...


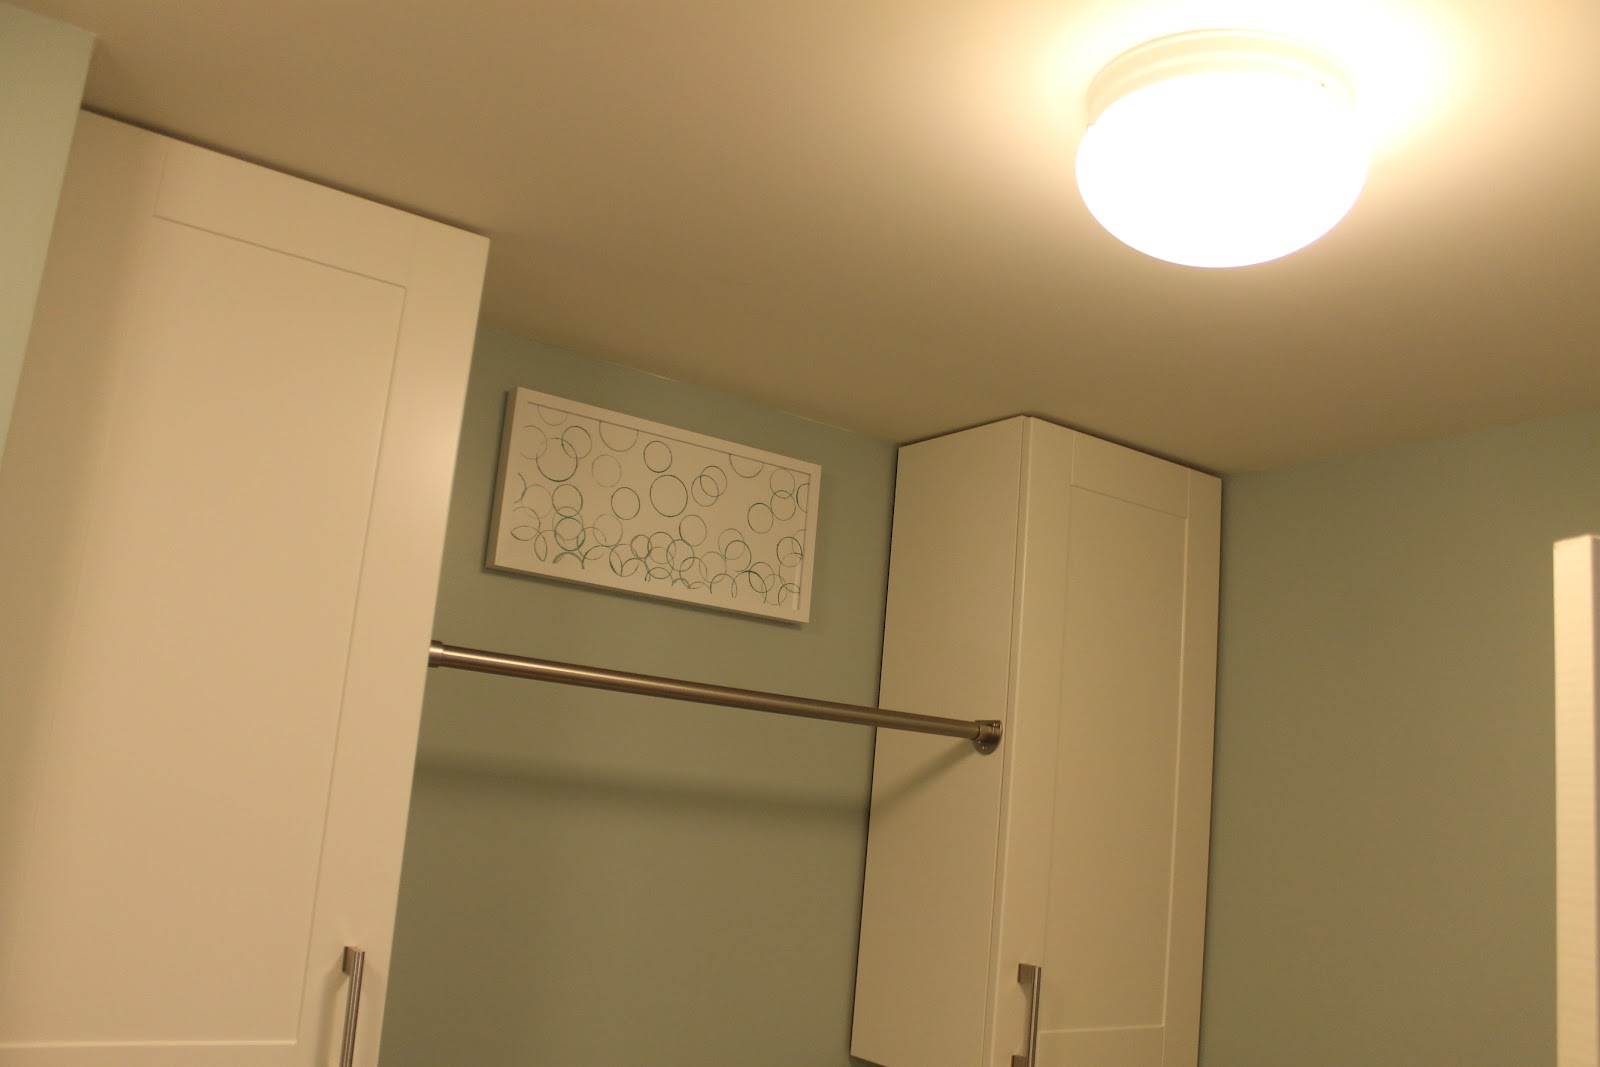
 We also made a trip to Lowes to pick up the pole and some mounting brackets.  We lucked out and found a kit by Allen+Roth that contained everything we needed (pole and brackets in an attractive brushed chrome finish).  Jeff did have to cut the pole down a couple of inches using his multi-tool.  Tyler was here to assist for this project.


"You climb the ladder like this, then you press all the buttons on the dryer..."


"Someone has to hold the ladder..."


Laundry Room To-Do list:
  • patch & paint
  • remove wash basin  
  • W&D delivery Dec 22nd
  • install counter top on W&D (16sqft)
  • install cabinets and rod for hanging clothes
  • install shelf below cabinets - we decided not to do this
  • install cabinet where wash basin was
  • artwork
I added artwork to our list.  I think the space above the rod (between the two cabinets) needs a little something.  I'm thinking the Ikea Ribba 3 photo frame and maybe some DIY artwork using the paint samples I purchased for this room:


Next up: install this cabinet
 
in this space
 

 They are backordered right now and not available until mid-March.  We are debating what to do for the counter top.  Ikea has a wood block countertop for $100 that fits this space perfectly.  I love the corian, but that is 10x's the cost, and our other option is Formica. 
 
Ikea Wood Block Counter Top
 

Wednesday, February 15, 2012

Laundry Room Progress

We started off with this:

then I painted the room and the new washer and dryer were delivered:

And here is how I have been doing laundry the last two months:


Here is what the floor plan looks like and what it will look like when done:


Laundry Room To-Do list:
  • patch & paint
  • remove wash basin
  • W&D delivery Dec 22nd
  • install counter top on W&D (16sqft)
  • install cabinets and rod for hanging clothes
  • install shelf below cabinets - we decided not to do this
  • install cabinet where wash basin was
We finally made the decision to go with the Akurum cabinets from Ikea. They were cost effective and attractive.  The cheaper white cabinets at Lowes and Home Depot have a funny texture to them that makes them very hard to clean. Jeff, with his assistant* in tow, built and installed the first cabinet for me.  This is the draw back about Ikea cabinets.  They actually have to be built whereas most come pre-assembled and all you have to do is hang them.


Ikea instructions do not have words, just diagrams of funny looking people installing things.


Installing the mounting brackets:


Making sure they are level with the laser level:


And it's up!


Of course, only one was in stock so I will have to make another trip to get the other one and the cabinet for wash basin nook. Since the cabinets were long (39" instead of the 30" at the other stores) we decided we didn't need the shelf underneath.  We will be installing a rod between the two cabinets to hang clean shirts once they come out of the dryer.
Below is the tall cabinet (88" tall) that we will be installing in the niche where the wash basin was.  In the two months we've been living here I haven't used the wash basin at all and I really need somewhere to store all of my cleaning gadgets (swiffer, dust buster, roomba, scuba, and shark mop, etc.).


* - warning: use of assistant will most likely cause your project to take double the time.  It is pretty darn cute though.

Friday, December 30, 2011

The Laundry Room Design

Wow, I love Pinterest.  It's my new great obsession (look out Real Housewives of Beverly Hills!) I even downloaded the iPhone ap so I could "pin" while on the go.  You can even follow my Pinterest boards by clicking on the icon to the right.

Now that you understand my love for Pinterest, let me show you some design inspiration I found for my new laundry room. 

Love these cabinets:


Love the clean lines of the cabinets and the marble counter top:


And my all time favorite and the inspiration behind my wall color choice is this:


LOVE LOVE LOVE!!!! If only I could afford custom cabinetry and crown moulding in my laundry room...sigh.  It did make me fall in love with that color so I used a similar color, Martha Stewart's Rainwater, to paint my walls. 


It looks very blue in that picture.  In real life it is more similar to MS's Tidewater.  A much more spa blue/green color:


I still have a few more things to do in here:

  • Have a counter top made so I can fold clothes on top of the washer and dryer
I really like this silestone in alpina white.  It pulls from the platinum color of the washer and dryer.

  • Pick and Install Cabinets
  • Get hardware to make a pole in the middle of the two cabinets to hang shirts